Getting Started
Creating Your First Block Diagram
Block diagrams provide a visual way to create effects without writing assembly code. Here’s how to get started:
Open the Quick Actions sidebar
Click the Audiofab icon in the VS Code Activity Bar on the left
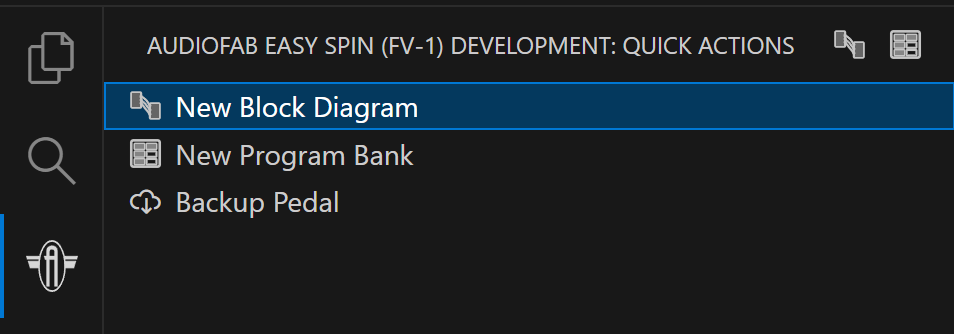
Click “New Block Diagram”
Choose a location and filename for your diagram
Drag blocks from the palette onto the canvas
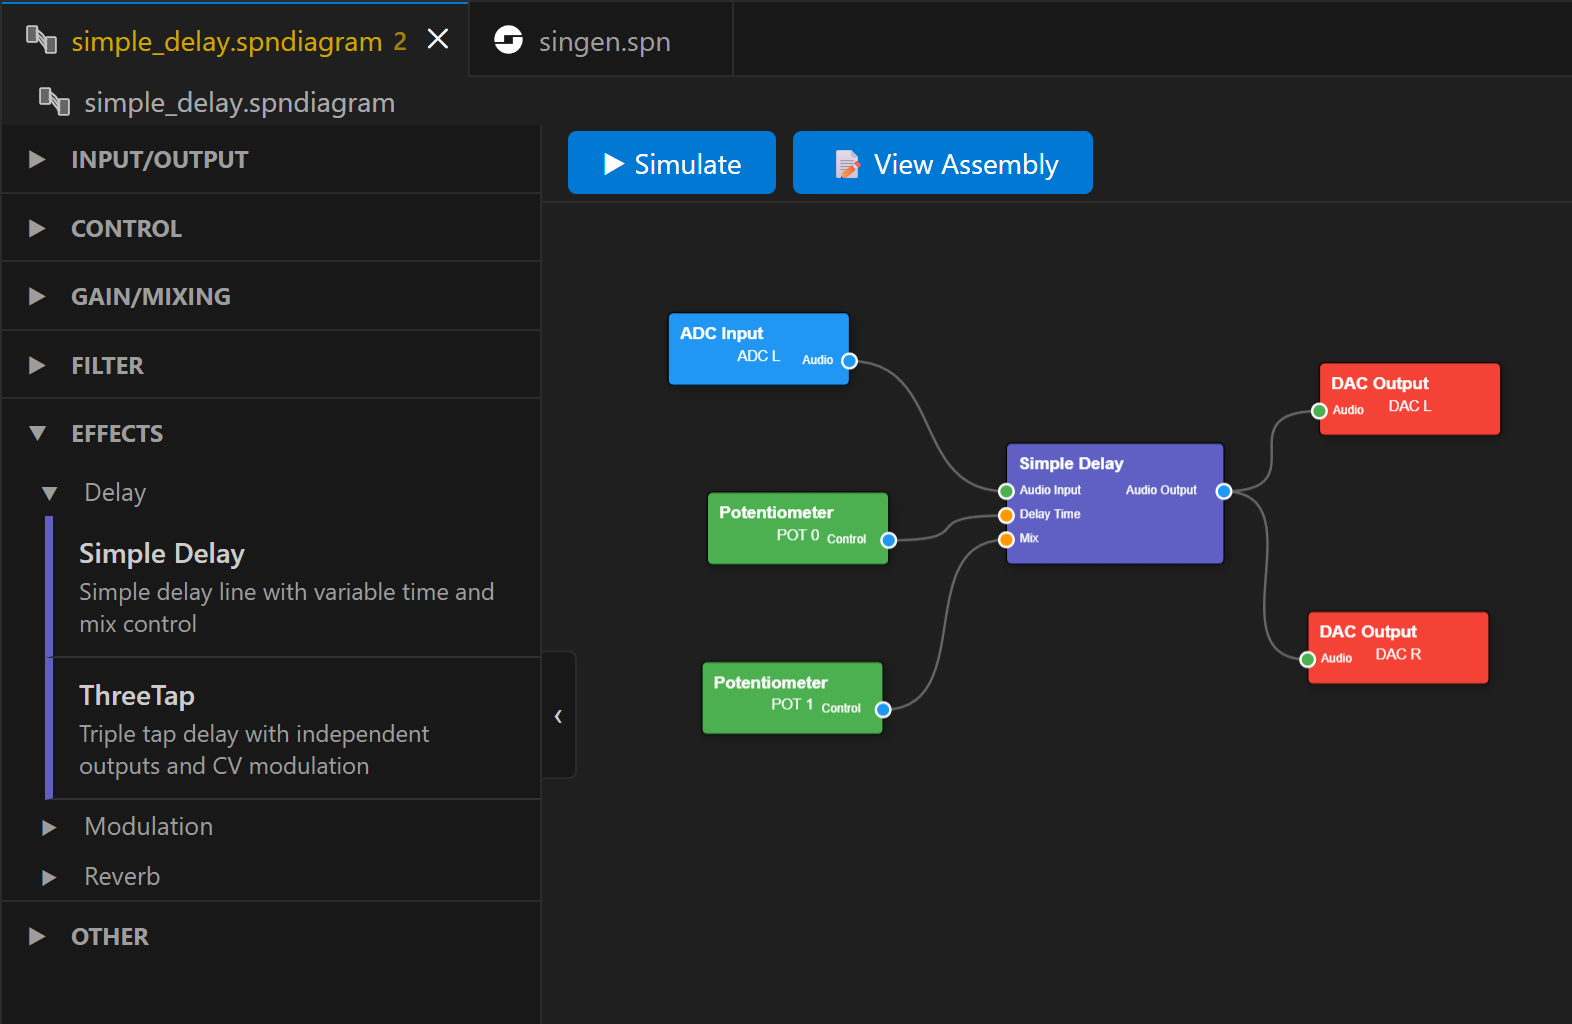
Connect blocks by:
Clicking an output port on one block
Dragging to an input port on another block
Modify block parameters by clicking a block and changing values in the Properties panel
Program to your pedal or export to HEX:
Press
Ctrl+Shift+Pand select “FV-1: Assemble current file and load to EEPROM” to program to your Easy Spin pedalPress
Ctrl+Shift+Pand select “FV-1: Assemble current file to an Intel HEX file” to save an Intel HEX file
Note
After programming, ensure you rotate the Program select switch off of the current program and back to have the FV-1 reload the new program contents from EEPROM.
Creating Your First Program Bank
You can organize multiple programs (assembly or block diagrams) into a bank of 8 slots:
Open the Quick Actions sidebar
Click “New Program Bank”
Choose a location and filename
Drag
.spnor.spndiagramfiles from the File Explorer onto bank slotsClick the “Program Bank” button to load all programs to your pedal
Assembly Programming
If you prefer traditional FV-1 assembly language:
Create a new
.spnfile (right-click in Explorer → New File)The extension provides syntax highlighting and real-time diagnostics
Use
Ctrl+Shift+Pand select “FV-1: Assemble current file and load to EEPROM” to program to your Easy Spin pedal
Using the Simulator
Test your effects without hardware:
Open a block diagram or assembly file
Click the “Simulate” button in the block diagram editor or press
Ctrl+Shift+Pand select “FV-1: Run In Simulator”The simulator provide the following features:
Audio Monitor: Hear your effect in real-time
Oscilloscope: Visualize any register or signal
Spectrogram: Visualize the frequency spectrum of the FV-1 outputs
Delay Memory Map: See delay buffer usage
Controls: Adjust POT0, POT1, POT2 in real-time
Breakpoints: Debug by stepping through instructions
Tips for Success
Start simple: Begin with a single effect block and gradually add complexity
Monitor resources: Watch the status bar for instruction, register, delay memory and LFO usage
Use the simulator: Always test in simulation before programming hardware
Check the error list: VS Code’s Problems panel shows compilation errors
Next Steps
Read about available Features
Check the Commands and Navigation
Learn how to use the Visual Block Diagram Editor
Explore the features available in the Simulator & Debugger
Explore the FV-1 Block Developer Guide if you want to create custom blocks
See the Frequently Asked Questions for common questions